

Corpsing a Skeleton
“Corpsing” is the Haunters’ verb for taking a skeleton and turning it into a corpse – something with a little skin on the bones. (And while we’re handing out definitions, “Haunters” is the name given to those of us who have a fixation with Halloween – specifically with the creation of haunted houses, fiendish home decorations and costumes.)
Even though I’m not having a Halloween party this year, I’m already planning for one next year. So, with many stores displaying their Halloween goods, I’m compulsively buying decorations. This means, for example, that every time I find myself at Home Depot these last couple of months, I’ve purchased a skeleton or two. (Home Depot and Walmart have the best prices. Sadly: Spirit Halloween is almost twice the price of those stores.)
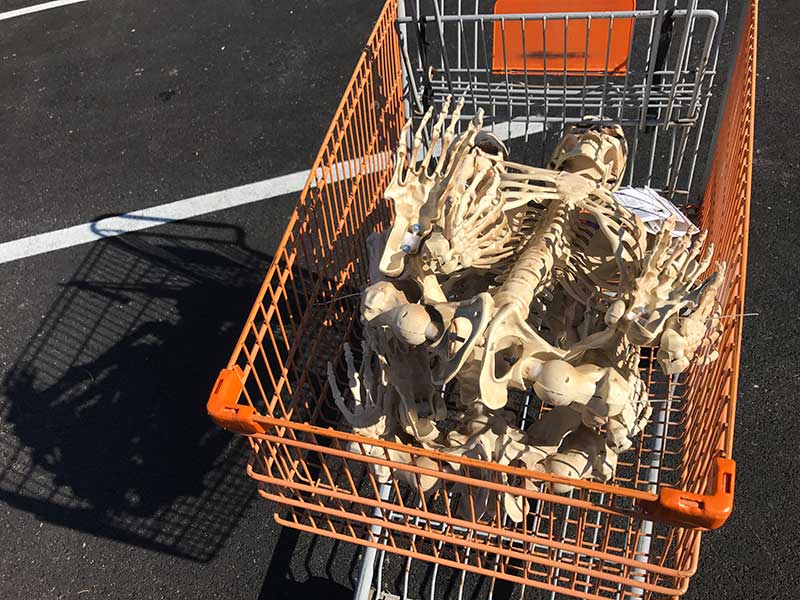
Two Home Depot skeletons in cart, on route for a very dark fate.
Once I got my latest skeleton home, I laid it our on a work table and surrounded it with paints, sprays, stains, plastic sheeting, plasters and all manner of chemicals.
My goal for this project was to experiment with different methods to create a ‘juicy’ corpse with many organs still in tact.
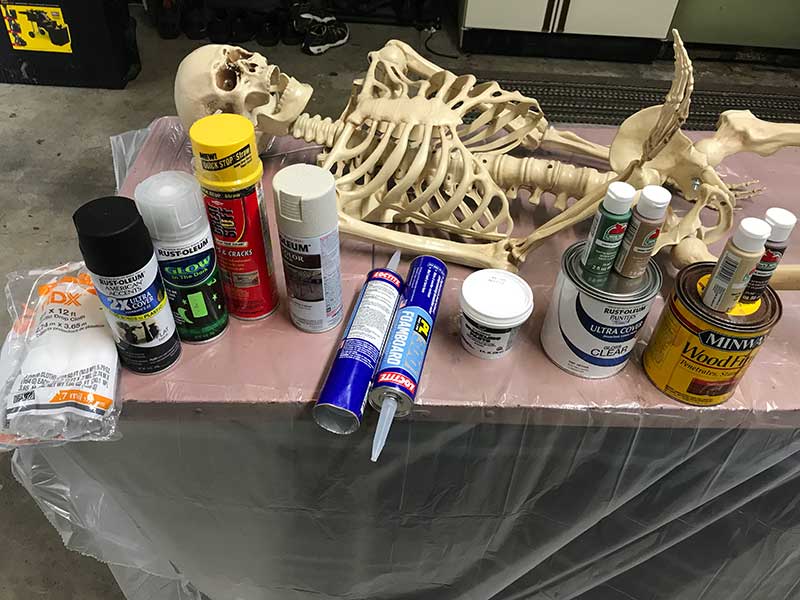
The operating table and supplies.
I wanted to create a simple set of organs: faux lungs, tracheal tube, intestines, liver and heart.
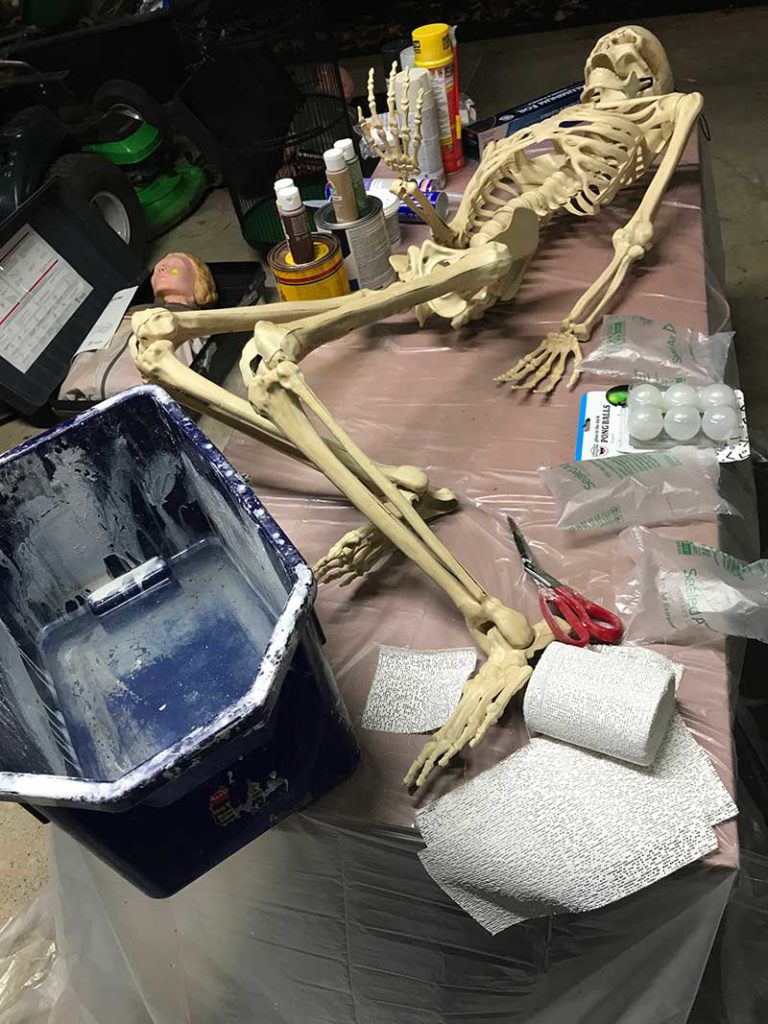
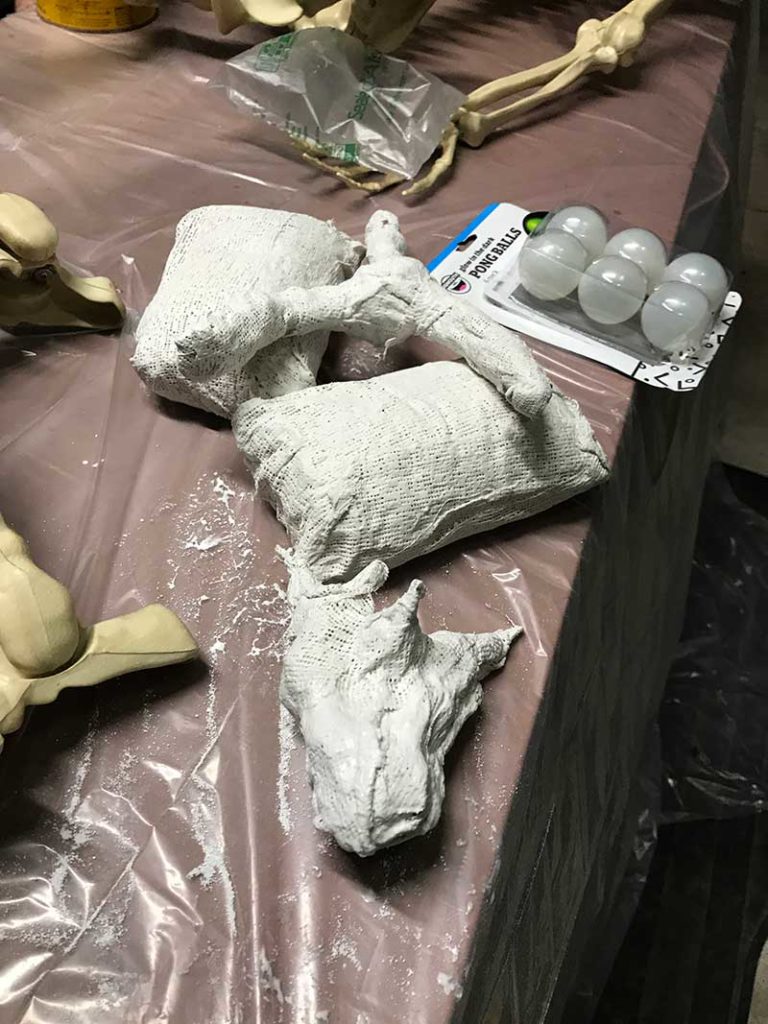
Plaster craft cloth, bucket and two air packing bags that were transformed into the Skeleton’s lungs.
I used plaster cloth bandages that I purchased from Amazon to wrap some packing bubble bags as a form for the lungs. For other organs, I used roughly formed tin-foil bases. I kept the organs simple and undetailed because much of their presence is buried under layers of plastic ‘skin’.
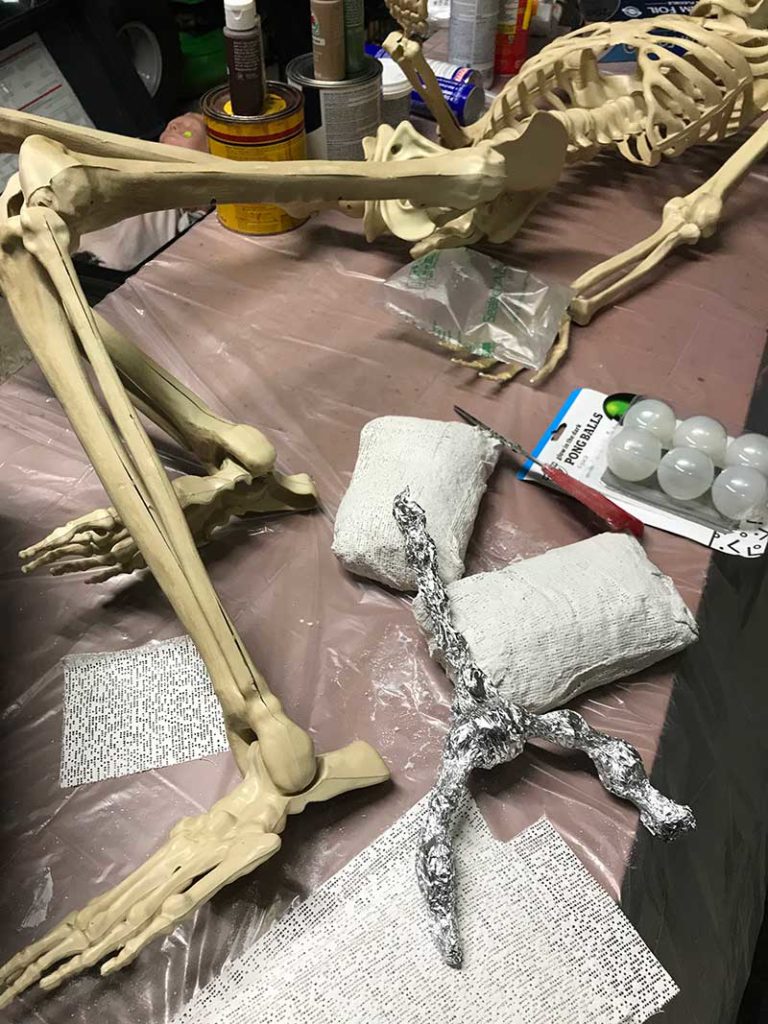
Plaster wrapped packing airbags for lungs and a tin foil air pipe ready for plaster wrapping.
I’d thought to use some ping pong balls for eyes, but the ones I bought were too big for this particular skeleton. Besides, this model had glowing red L.E.D. lights and the addition of eyeballs may not have obscured those lights too much.
Lungs, air pi[es and heart, ready for paint.
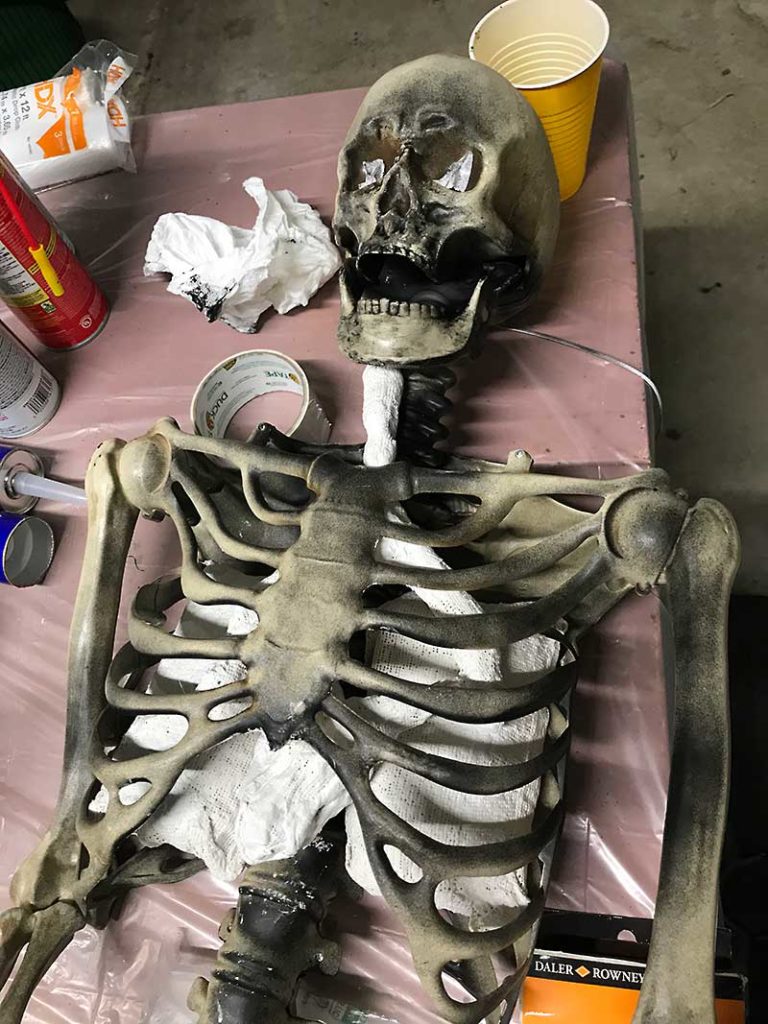
Testing placement of organs into the chest cavity.
In order to give the corpse some more form, I also experimented by adding some plaster cast to the hands. In the end, that probably wasn’t required and could have been just as well executed with built up, melted plastic wrap.
The plaster cloth is great for creating sturdy structures, but the results look very much like pock-filled cloth. I mitigated this with heavy does of glue, plastic, paint and glossy paints to give a more organic material feel.
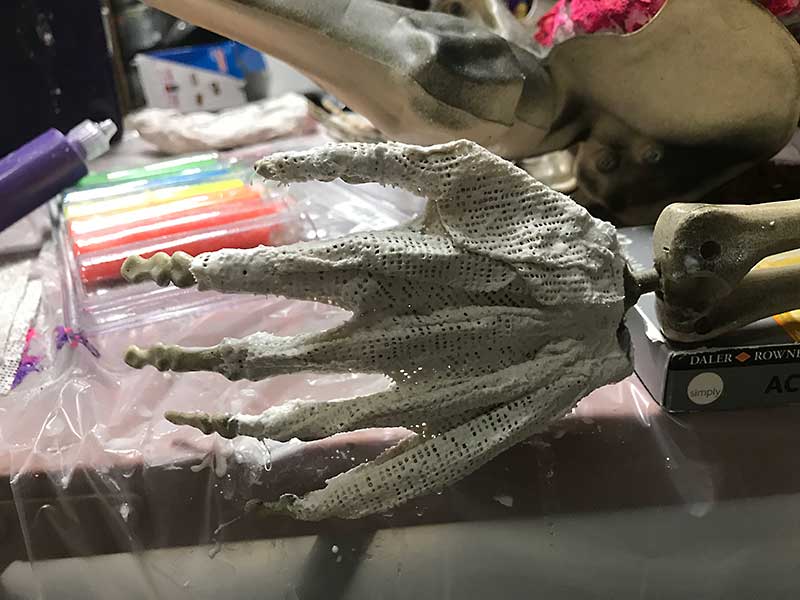
Adding a plaster base for creating a more fleshy hand.
I painted the organs with a combination of fluorescent and standard paint. Throughout the project, I tried to walk a line between realistic colors and fluorescent that would at least partially glow in black-light.
The first layers of paint on the internal organs.
Before I started to layer in the organs and skin, I gave select portions of the skeleton’s torso a red and black spray-paint job to emphasize its depth.
I covered the eye’s LED lights with electrical tape before spray painting the sockets, thinking that I’d later remove the tape. In the end, I kept the tape in place after a test revealed that the red light behind them gave an eerier glow.
Red paint on the inner skeleton.
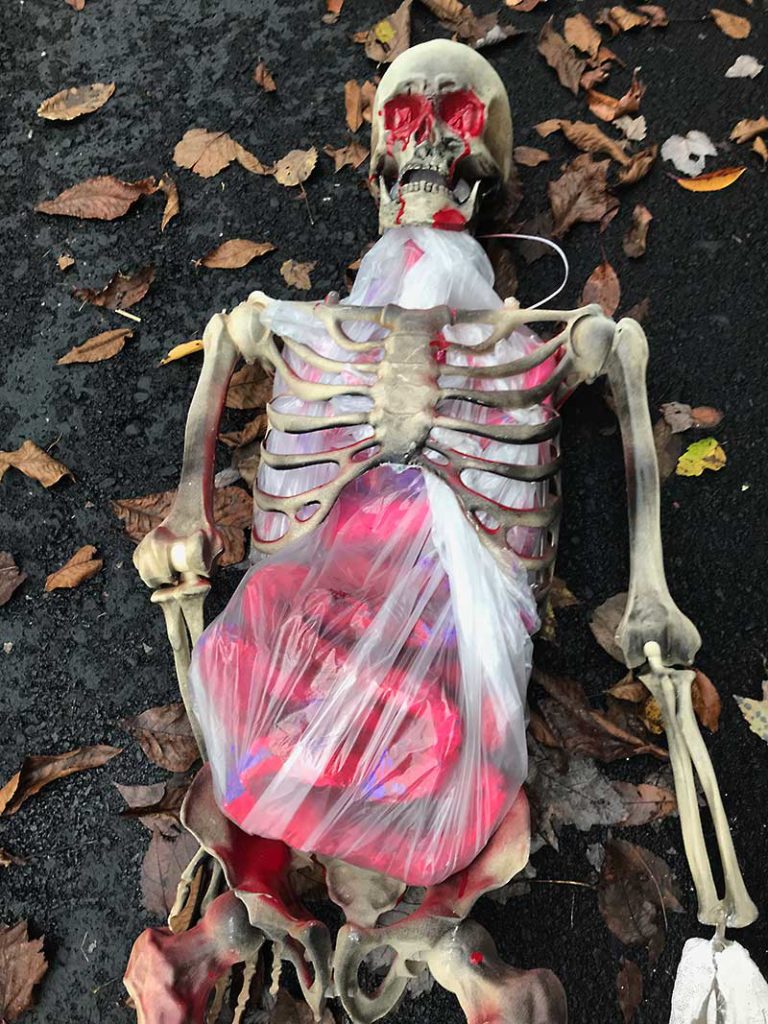
Once I had a base level of bloody color on the skeleton itself, I laid down cut painters plastic tarp within the chest of the skeleton. I pulled portions of this up through the neck hole so that it would appear as remnants of tendons, sinew and veins once melted.

Lining the skeleton with Home Depot painter’s drop cloth (.7mm).
Organs were laid in next before they were in turned covered around with plastic.
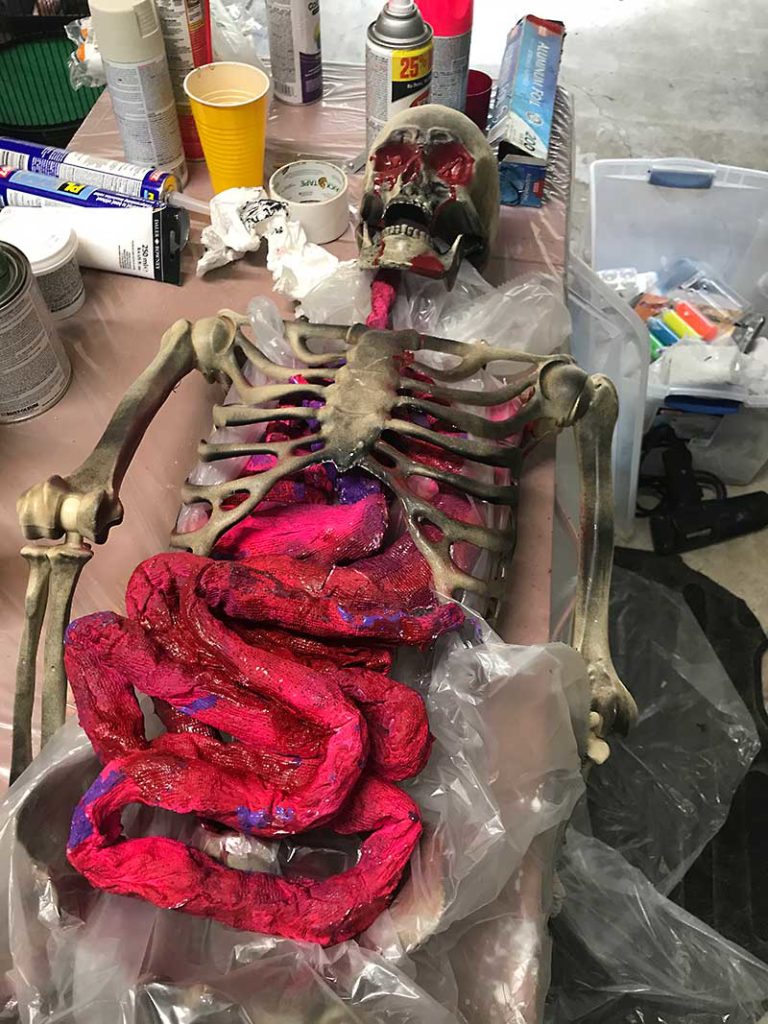
The organs being placed onto the plastic within the torso cavity.
Once all of the organs were wrapped, I melted them selectively with a heat gun.
– Note: This task (and others) were done outside in an attempt to offset inhalation of noxious vapors.
Organs sealed into the plastic wrap, ready for the heat gun.
The whole project involved may layers of plastic and paint, as I felt my way to a look that satisfied me. But quickly, with even minimal layers, the organs were quickly buried under paint and melted plastic.
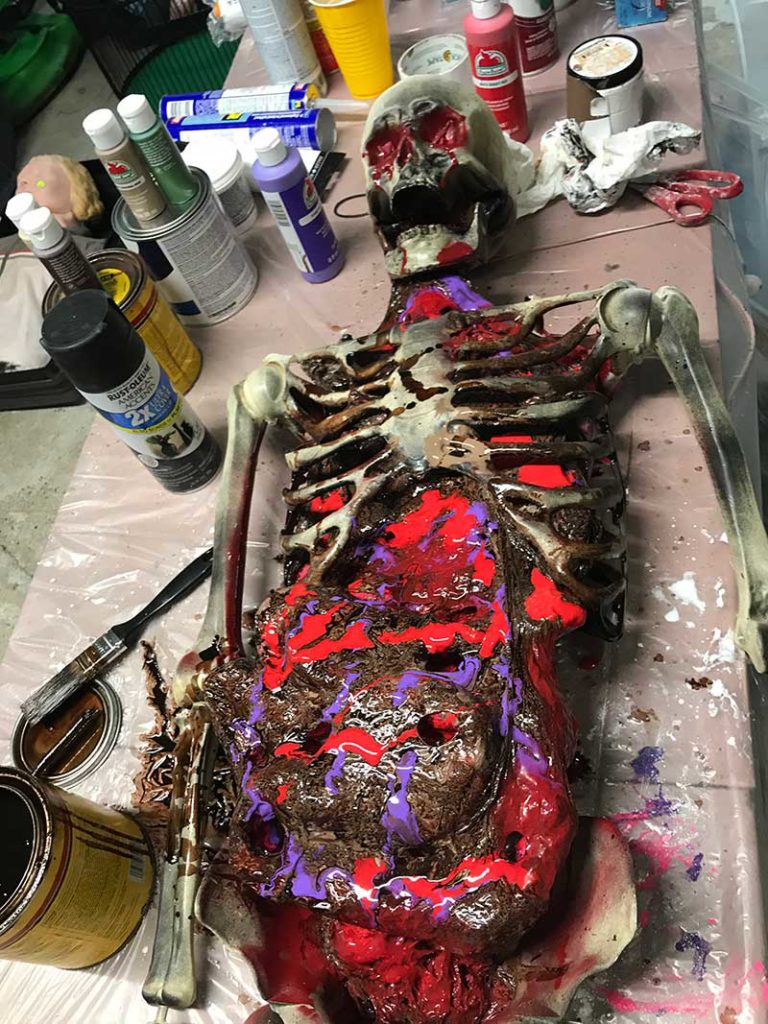
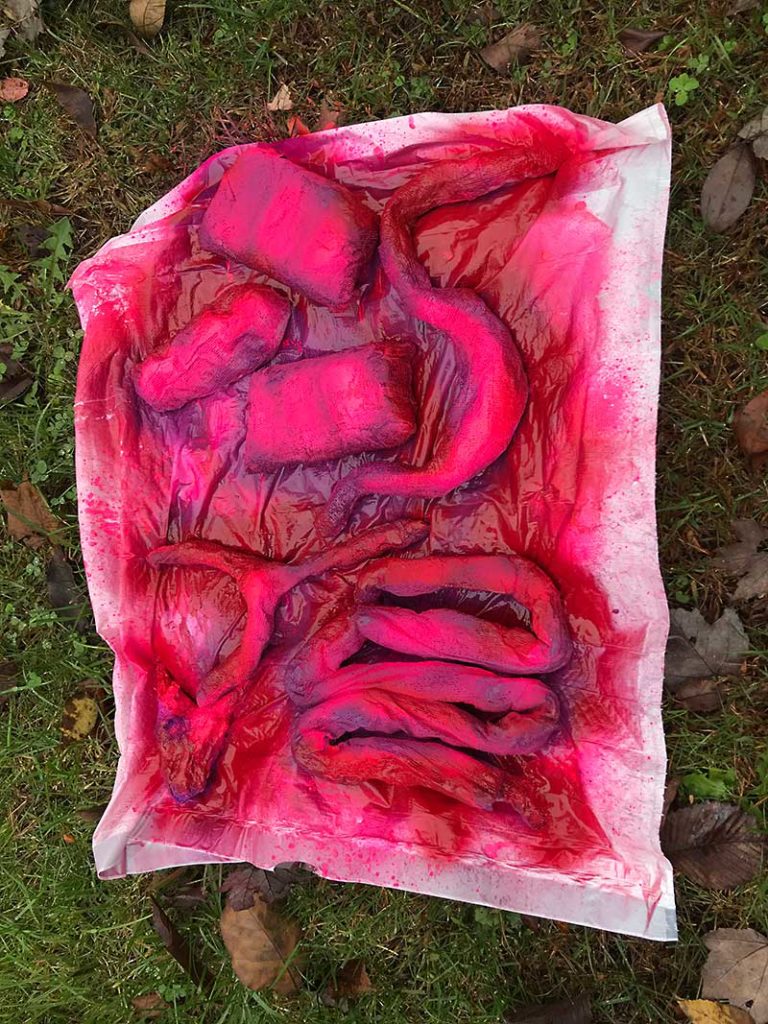
Layers of grisly paint being added to the offal.
The paints looked best when they were fresh and wet. I used reds, blues, purples and pinks. The reds and purples looked best, but I was glad to have hints of other colors.
Drying over night.
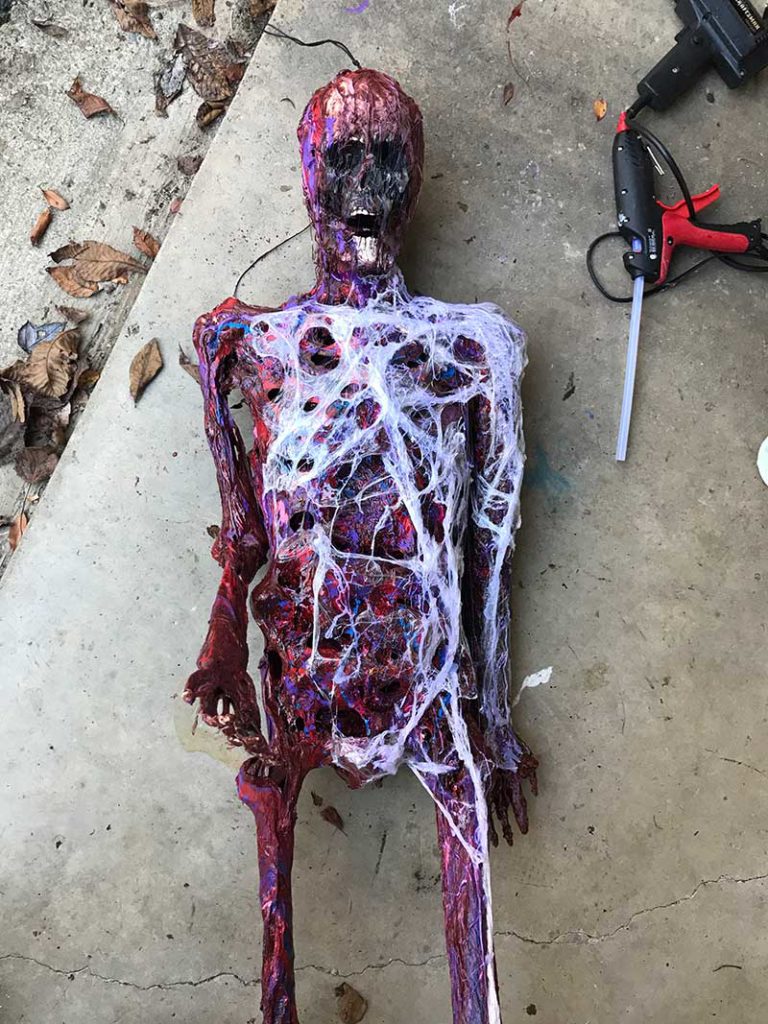
On my initial pass, the intestines appeared insufficiently connected to the rest of the body, so I added more layers of plastic across the torso, trying to get a cohesive look.
Adding more layers of plastic skin, prepped for the heat gun.
I love the organic holes that form when the plastic melts: creating the look of body fibers disintegrating.
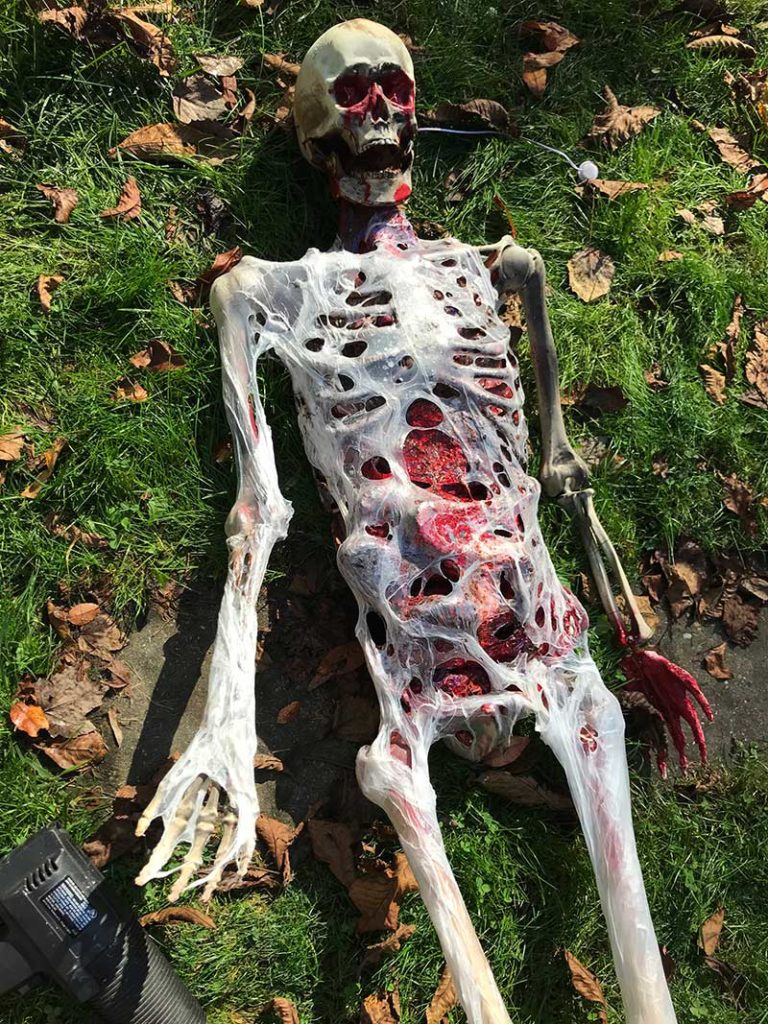
Melted plastic skin, sans paint.
It’s hard for me to muck-up the skull. I love their ‘unskinned’ look. Nonetheless, in order to obtain the look of a fresher corpse, I added plastic wrap which I melted with the heat gun.
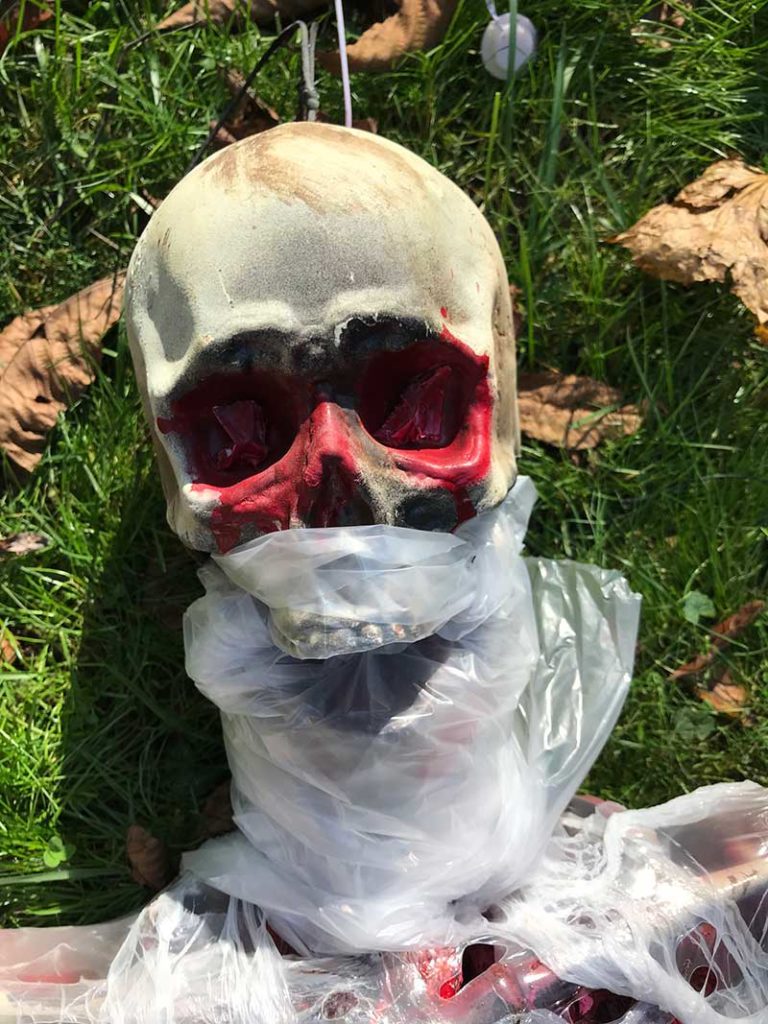
Skull wrapped in plastic.
I added a lot of melted glue to simulate layers of sinew and veins. (Again: bulk glue sticks bought from Amazon). On top of all of this, I used stain from Home Depot to paint the melted plastic ‘flesh’.
Staining the newly melted plastic skin.
I was actually happy with this version of the corpse, but it was too similar to another one I’ve done, and I felt that much of the blue, purple veins and organ details were lost.
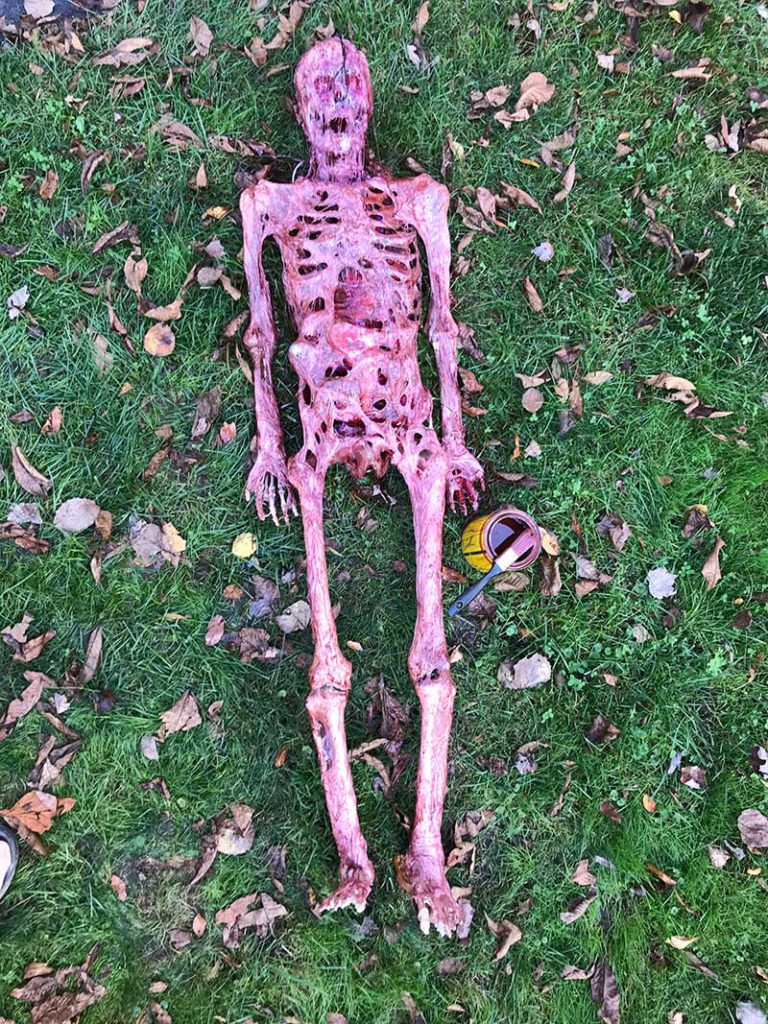
Stained corpse. I actually liked the skeleton a lot at this stage and could have stopped, but I wanted something more ‘meaty’ and asymmetrical: as if parts of the body weren’t as decomposed.
I also found this version too symmetrical, and at the prompting of friends, I added more layers of plastic muscles to the left arm to imply a corpse that was decomposing asymmetrically.
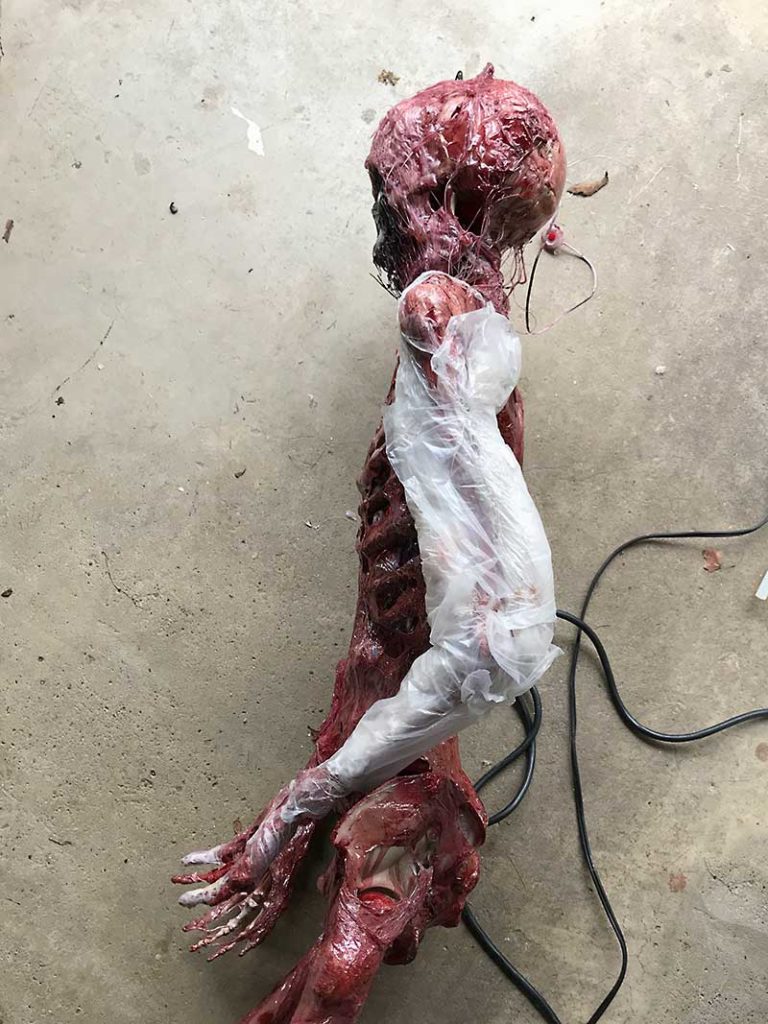
Building up the left arm, with additional plastic wrap to help create a less symmetrical corpse.
All of the glue and plastic had buried the teeth, making the skull look too much like a blob, so I took a Dremel to the teeth and did some creative dentistry.
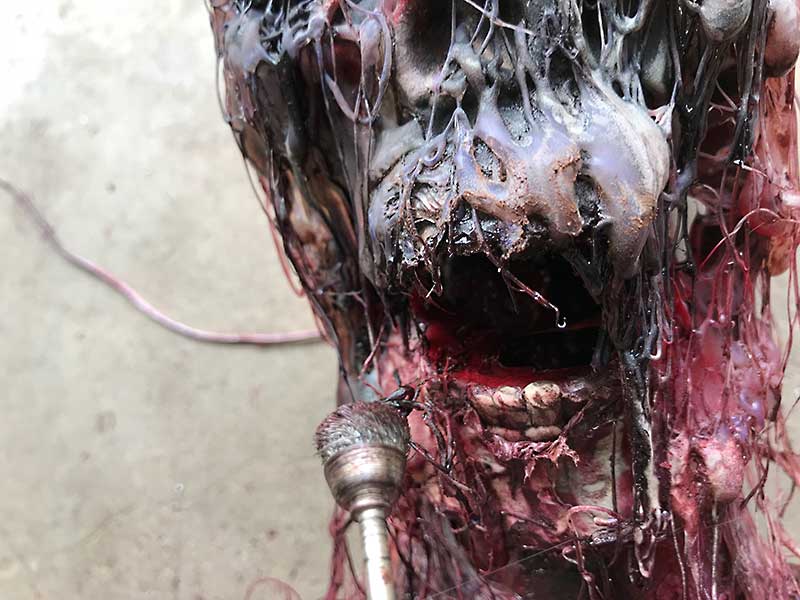
The teeth had been covered by too much pseudo-gore, so I took a Dremel to expose the teeth and make them appear more generally abused.
I revisited the skull throughout the project, and added some more character with subsequent layers of paint and plastic. The glowing L.E.D. eyes had a surprisingly good effect as they glowed behind the layers of glue and paint. (Not shown illuminated here.)
Post dental cleaning skull closeup.
I dribbled layers of blue and red veins and arteries across the body. I’d tried painting them on with a brush, but the texture was too rough and failed to provide the organic look that I could achieve with the less work intensive effort of pouring paint right onto the body.
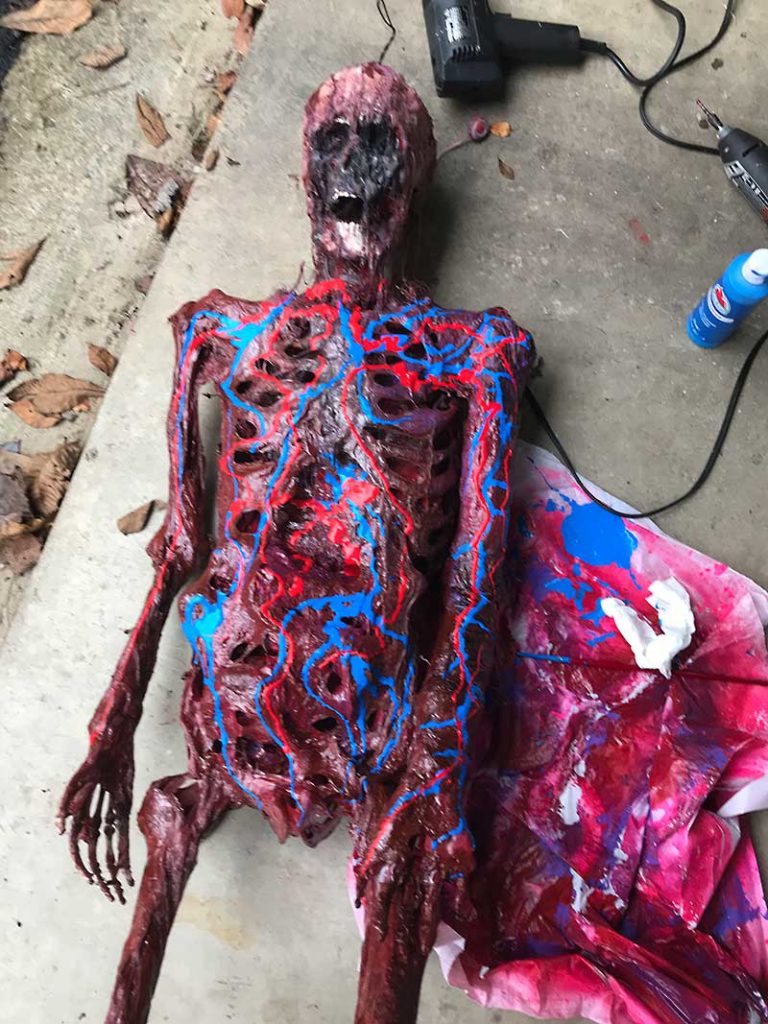
Painting in arteries and veins.
The paint looked too bright and 2-D for my tastes and the body was still looking too symmetrical so I added another layer of 3-D sinews but this time rolling the plastic into long tubes before hitting them with the heat gun.
Adding 3-D veins and sinew.
I was also not satisfied with the default flat hand pose, so I bent back select fingers and blasted them with heat and held them in place with tape while they re-hardened, giving them more of a sinister pointing look. For my next corpse, I’ll do this process before the body is covered in goo.
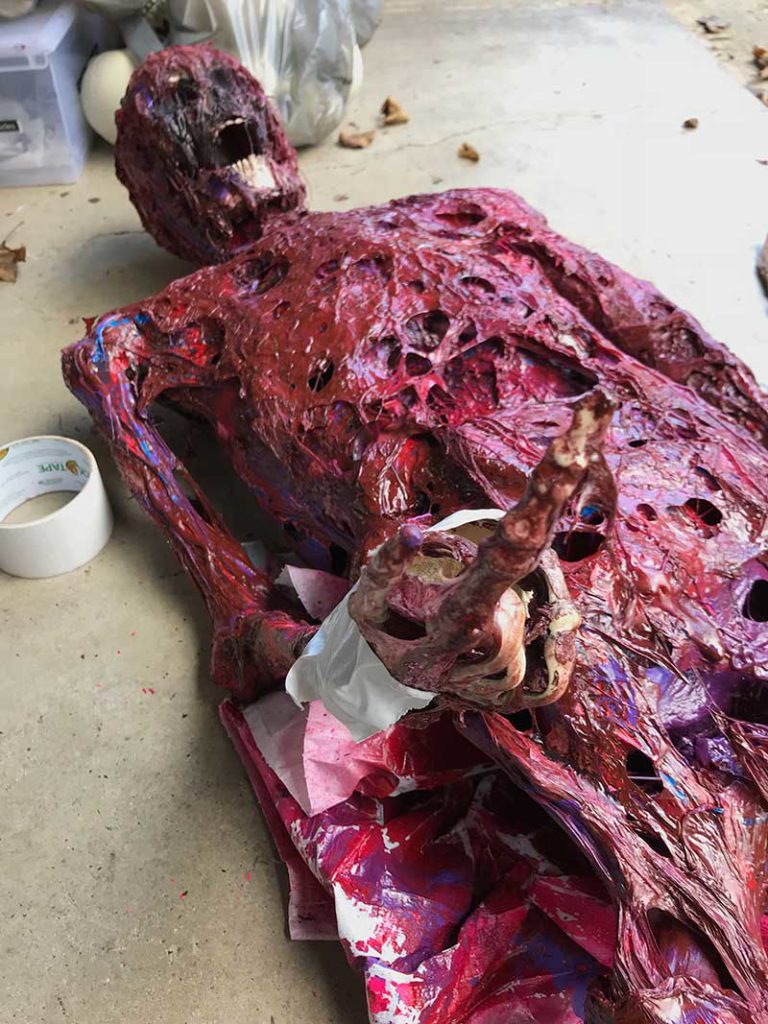
I don’t like the standard, flat hand pose of the skeleton, so I took a heat gun to the fingers, bent them back and held them with tape so that they’d freeze into more of a sinister pointing gesture.
Still, I found the body too symmetrical and too much of the organ details were getting lost, so I ripped back the plastic skin on the right side of the torso and even went so far as to cutting a couple of ribs, bending them outwards under heat, simulating some unfortunate trauma.
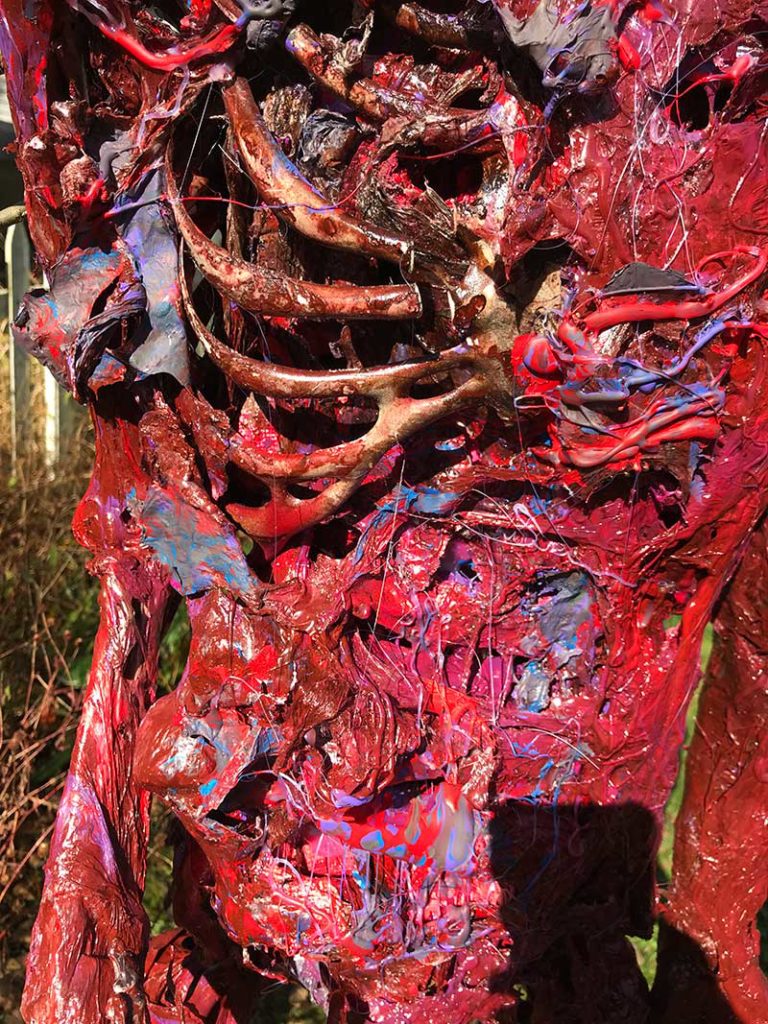
I broke a few ribs and tore back layers of plastic skin on the body’s right side since much of the organ details had been lost, buried under layers of flesh.
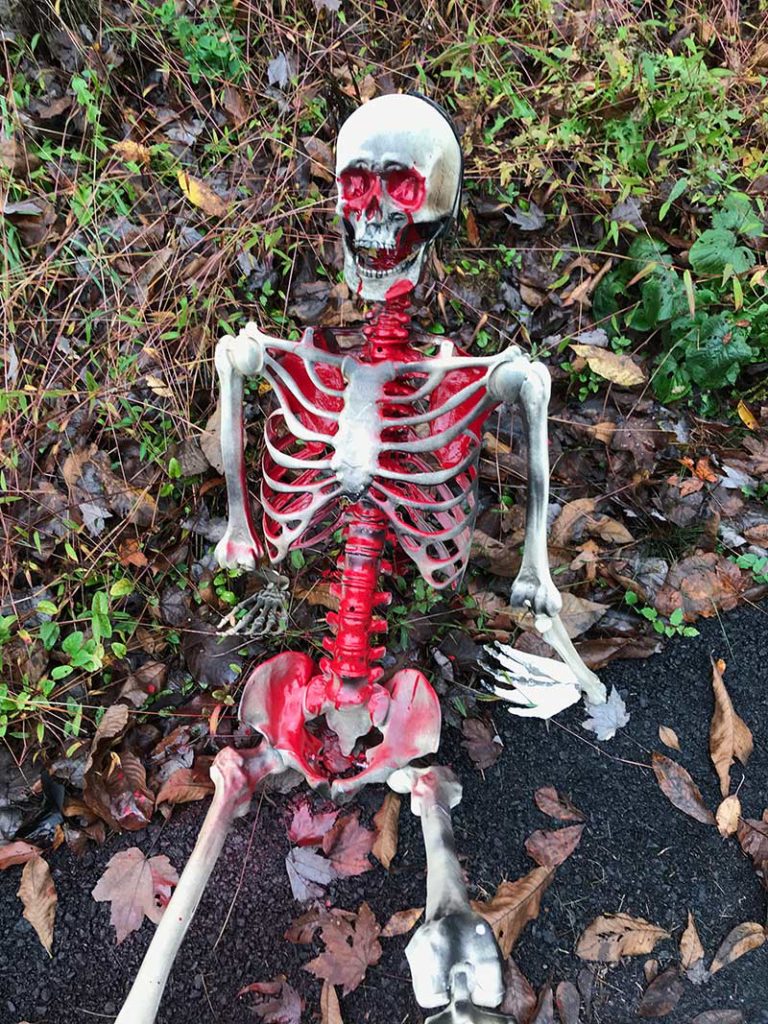
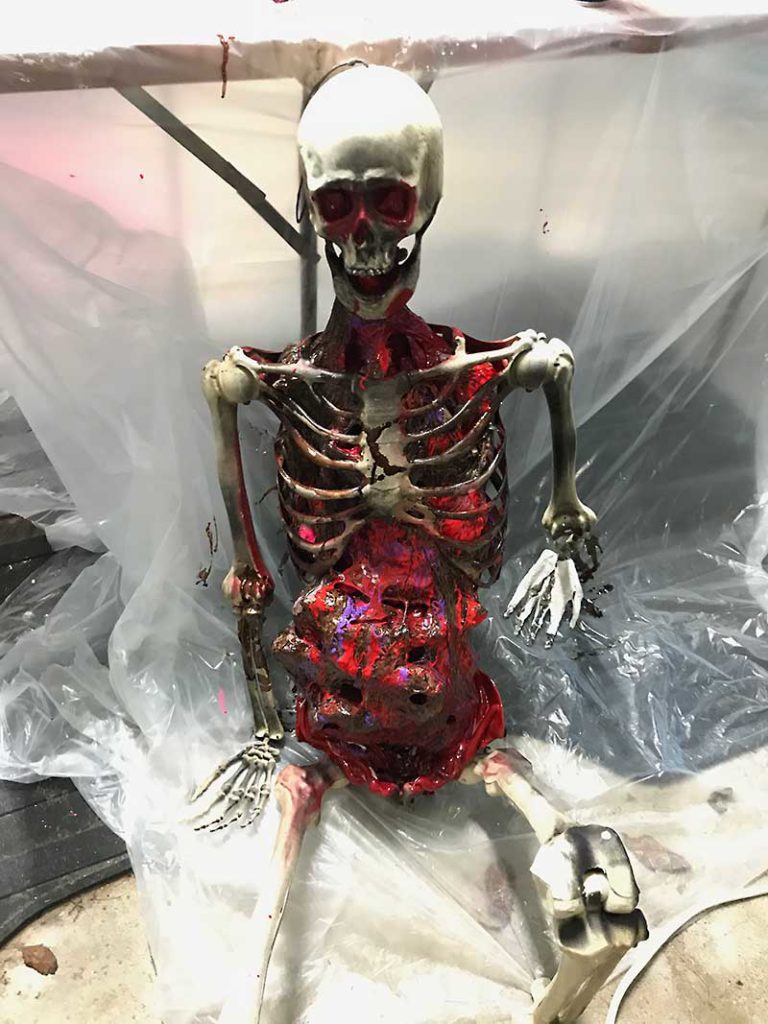
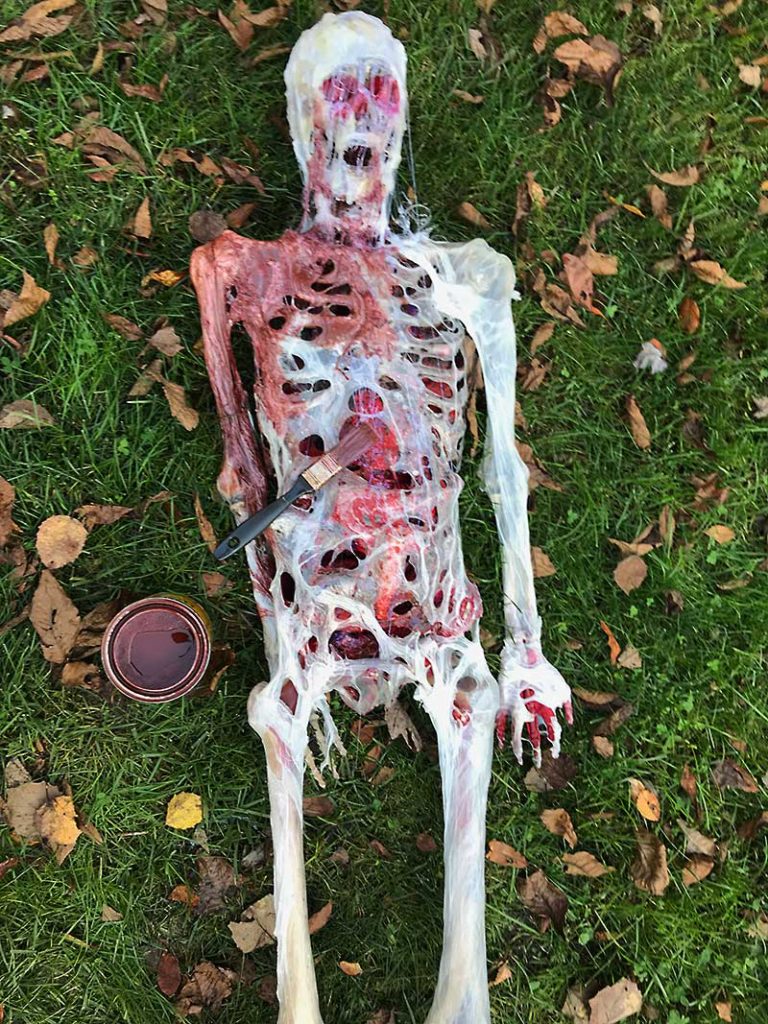
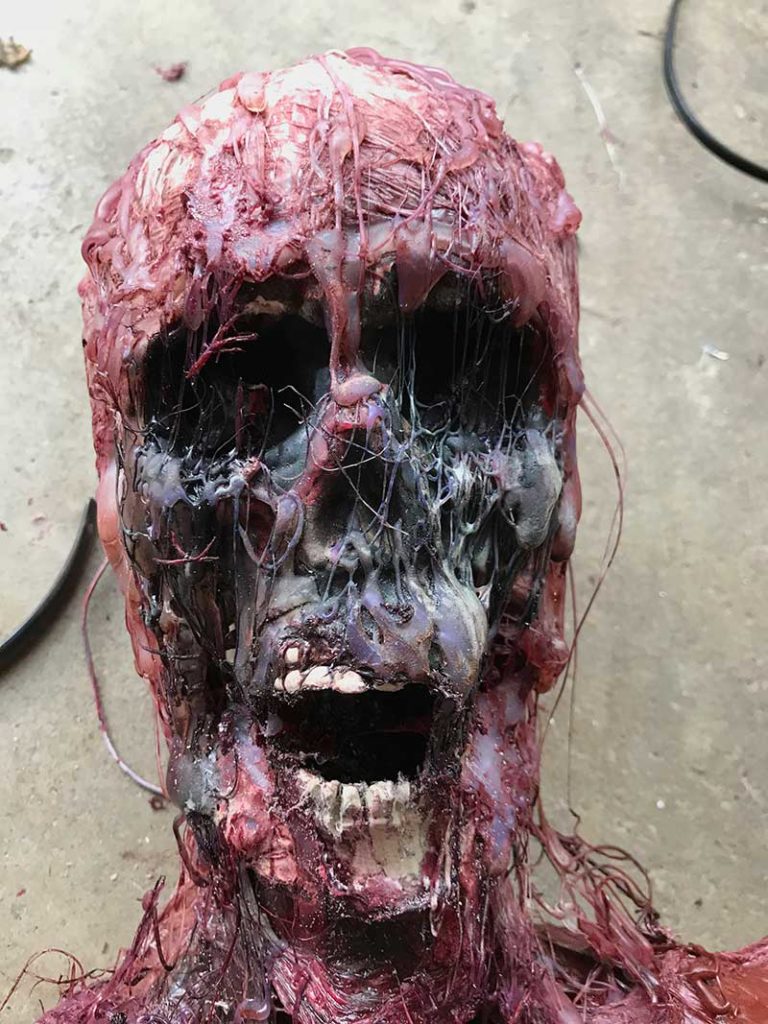
The final corpse had the majority of the rot on the body’s right side.
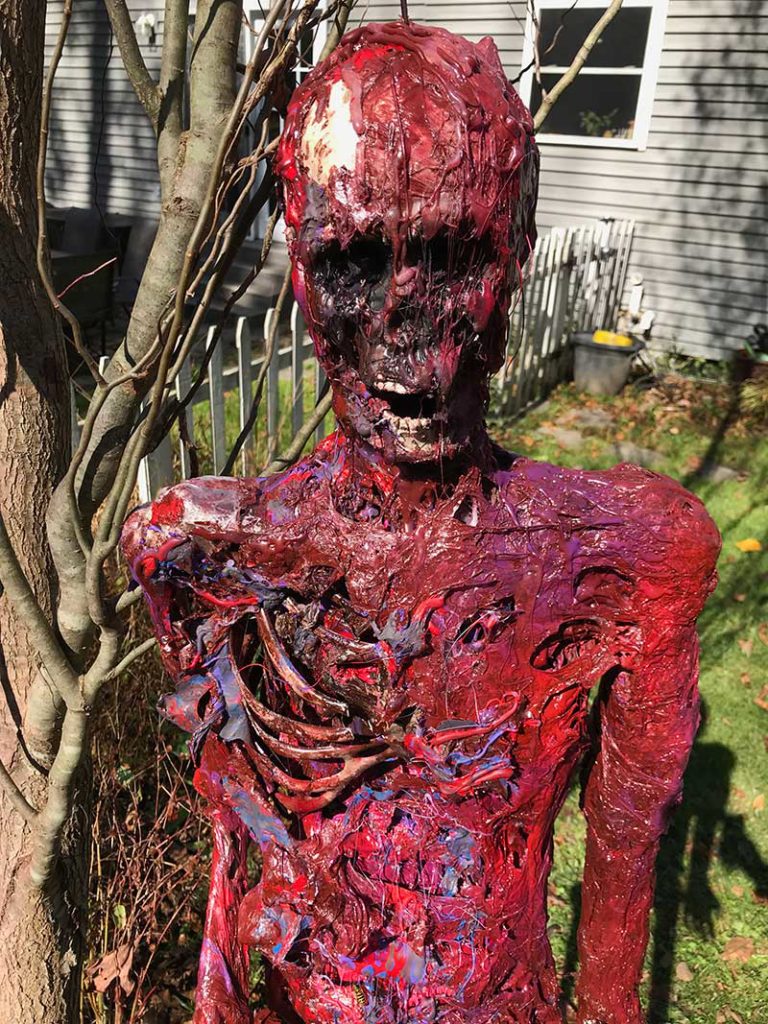
Torso of the nearly finished product. (The only addition was to hit the organs with high-gloss clear enamel to maintain a wet look.)
I finished it up with high gloss clear enamel, concentrating on the goriest bits for that fresh, moist look. I think that, when actually staged for Halloween, a good touch would be the inclusion of crows, rats or bugs.
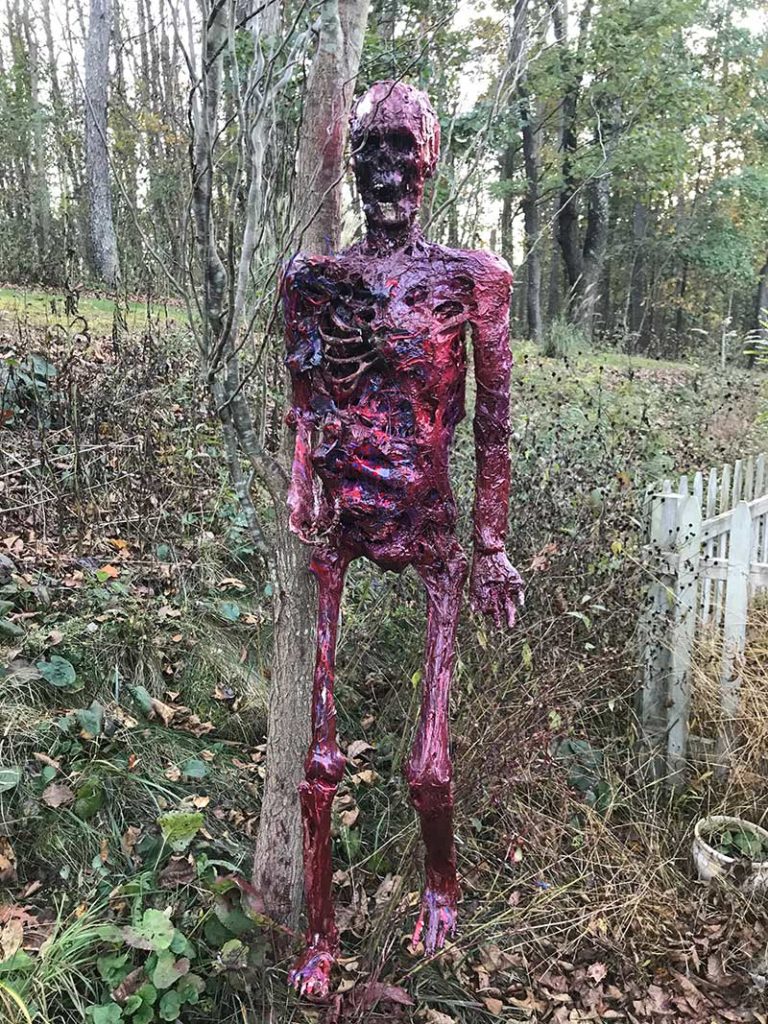
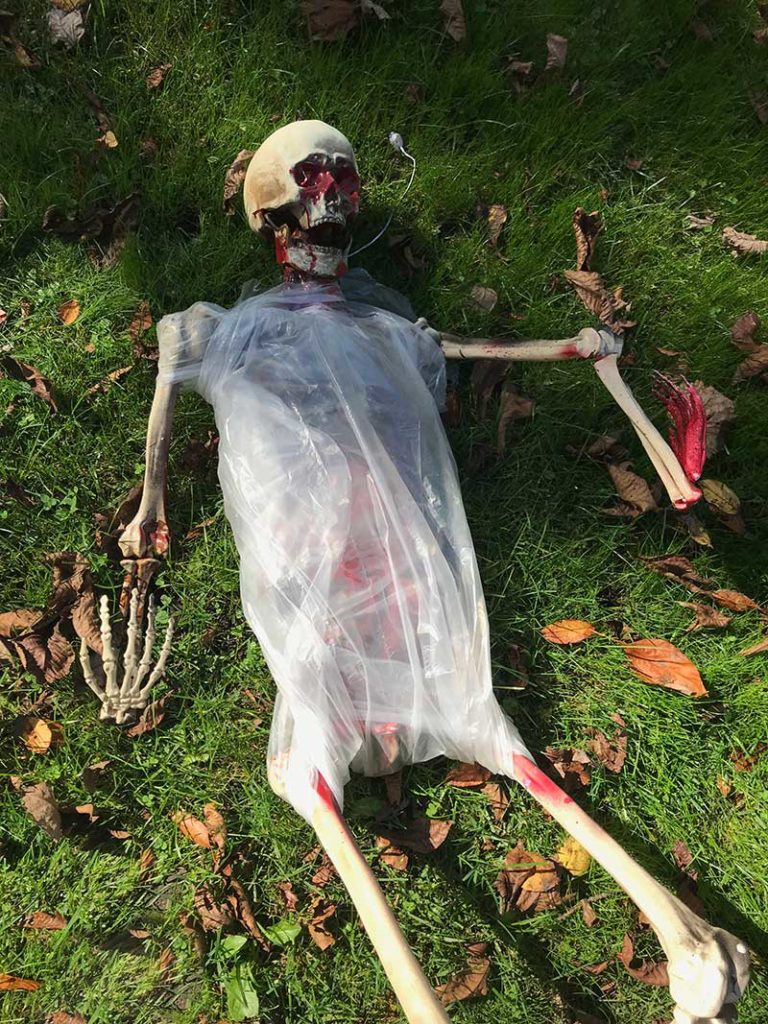
The whole figure, hung to dry from a tree.
For my next body, I may try a dusty, ancient partially mummified corpse for one body or perhaps a burned body. Alternately, I may build up more of the face and body with plaster cloth before corpsing the body.
The funny thing is, there is an aspect of this that isn’t easy for me. Ever since I was a kid, I kept my toys fairly pristine. – For example, I was never one to put stickers on something I owned. Even now, I like the look of the untarnished original skeletons. But clearly, I’ve not left this compulsion hold me back.
As I gleefully work on these projects, I’m left to wonder why I get some fiendish enjoyment from creating Halloween spooks. But truly, one of my ideas for fun in distressing and gorifying the pile of prop bones and skeletons that I have piled in my house in the hopes that I can scare the bejeezus out of someone.
Recent Comments